How To Shoot and Edit Portraits with JUST your Smartphone
A lot of folks may believe they have a decent camera in their smartphone, but probably don't really consider the applications in which they can maximize their camera to be creative or actually create pretty decent photos!
In the video below, I carry you through my method of how I can shoot and edit a quick portrait using just my phone.
The app I use in the video is Snapseed, a free photo editor owned by google for both andriod and iOS, that contains some powerful editing tools to make some dope images, it updates regularly and continues to impress me with how much better it gets over time.
Snapseed (Totally Free!)
Android (Play store): https://play.google.com/store/apps/details?id=com.niksoftware.snapseed&hl=en
iOS (App Store): https://itunes.apple.com/us/app/snapseed/id439438619?mt=8
Before I get into Snapseed and the editing features, I'd like to speak on the actual process of taking the photos first. As I mentioned in the video, most modern day smartphones (from about 2014-2015 ) contain pretty decent cameras inside them that can capture great photos with just a little know how and understanding..
The same principles that make 'a good photo' in a big camera like a decent camera. Principles like understanding lighting - How much light is available, which direction the light is pointing, what's the quality of the light (Harsh - bright with drastic shadows, or soft - gentle, with smooth and light shadows), Composition - How the photo is arranged, where you place the subject, how much negative space there is, the perspective you use (High or low), we cant forget, Subject (Matter) - Meaning your subject (the model) How you pose them, what's their facial expression like etc. And all these principles work together to create what will probably give you a 'good photo'.
Another feature your phone might have access to, is shooting RAW, this can probably be found in your phone's camera settings. A RAW Photo, is a type of photo file, that contains much more digital information than the standard photo your camera takes (what's know as a JPEG), You can't post a RAW file to instagram, it's designed to be edited, and gives you much more room than a Jpeg, to change exposure (image brightness), contrast and colours - and when you're finished, you make a Jpeg that can be posted to instagram. A RAW photo generally will result in a better photo, so if you can shoot RAW on your Portrait shoot, do it!
Back to Snapseed!
This what Snapseed looks like when you open the app, hit Open to begin and it will take you into your gallery to select an image. (this may look different dependent depending on if you're on Android or iOS)
Press the pencil icon in the bottom right corner to open the tools panels. There are a bunch of tools here, but in this tutorial i'll be focusing on Tune image, and the Curves panels today.
All of snapseed's editing interface is very intuitively touch based. To bring up the controls, touch and hold the screen and you will see all these options come up. To tweak them, you slide to the left or right to increase or decrease the effect in intensity. I advise you play around with all these sliders individually to get a feel of how each of them works.
Brightness: Affects how light or dark the photo is
Contrast: Affects the intensity of the whites and the blacks in the photo
Saturation: Affects the intensity of the colours in the photo
Ambiance: Affects a mixture of Brightness, sharpness, and colour to change the "mood" of the photo
Highlights: Hightlights are the brightest part of your photo, this slider can make just that section brighter, or darker
Shadows: Opposite of Highlights as it relates to shadows with one exception. The area of the photo referred to as shadows is the darker points all up until the darkest point (meaning a range of maybe 50% percent darkness to about 90% Darkness, but not 100%)
Warmth: Increasing this adds a yellow hue to the image, while decreasing it adds a blue hue
When your done tweaking here, just click the check mark and you'll be back in the tools panel, from here we're gonna move to the curves panel.
Curves is a powerful way to fine tune the look of your photo. It starts as a line, the top of the line controls the brightest parts of your image, and the end of the line controls the darkest parts. You can touch and drag any part of the line and move it to affect that specific tonal range in your image. A very common curve used is called the S-curve, where close to the top is pushed up (making the brights brighter), and close to the end down (Making the darks Darker).
Within the curves panel, you have RGB (Which affects all the image), Red, Green, Blue (each of those curves affect the respective colour) and Luminance (which is only the brightness, doesnt affect colour). Here I'm gonna mess around with the colours. If you look at the images side by side, you can see what kind of difference stylistically tweaking the colours make.. (the effects are better illustrated in the video), but essentially I added some red to the highlights, and I made the shadows a blue tint.
Hitting the little layer tab up top will show you some useful options while editing, Undo and Redo are pretty useful for maybe when you want to step back, and revert removes all the edits. Apply Last Edits is great for if your editing more than one image that has pretty much the same lighting and setup, as it can apply the same edits you used for your last photo to your new one. I'll get to view edits in a second- but the last 3 are pretty clutch. In sanpseed you can save your edits to something called a Look, it's like your own custom preset, that you can use later. It saves whatever edits you have applied currently when you hit save look, and stores it in My looks, so you can use it later. Very awesome feature if you ask me. QR Look, is a fun way to share your looks via QR code, you can also get looks from others by scanning it.
This is what happens when you open View Edits, it shows you all the edits you did, and what's great is you can select any of these tabs and go back into that specific tool to change anything. So maybe after the curves you wanted to brighten the image more? just go back into tune image and edit it. That simple
Once your done, hit the save button up top, and you'll be presented with 4 options, 3 of which are pretty similar. Share, allows you to post this or share it right to an app, like Instagram or whatsapp, I may use this feature to send my image into VSCOcam for some more editing (Tutorial on that soon!). Save, simply saves a copy of your photo as is, to wherever snapseed saves images on your phone (may differ between iOS and Android). Export, saves a copy as well but you can chose things like size and quality, it's good in case you may want to email the photo, or you dont want the file size being too huge. Then you have Export as, which saves a full resolution file, to a folder on your phone of your choosing (I think this may be android only), I personally like this feature because it helps me stay organized.
And that's it! your done! I really encourage you to play around and stimulate your creativity in Snapseed, we only really just brushed the surface of what it's capable of, and the snapseed team does really good work in making it even more and more powerful. It's totally free, so there's no excused to try! This can also be a great gateway into one day moving into some desktop apps if you're a beginner.
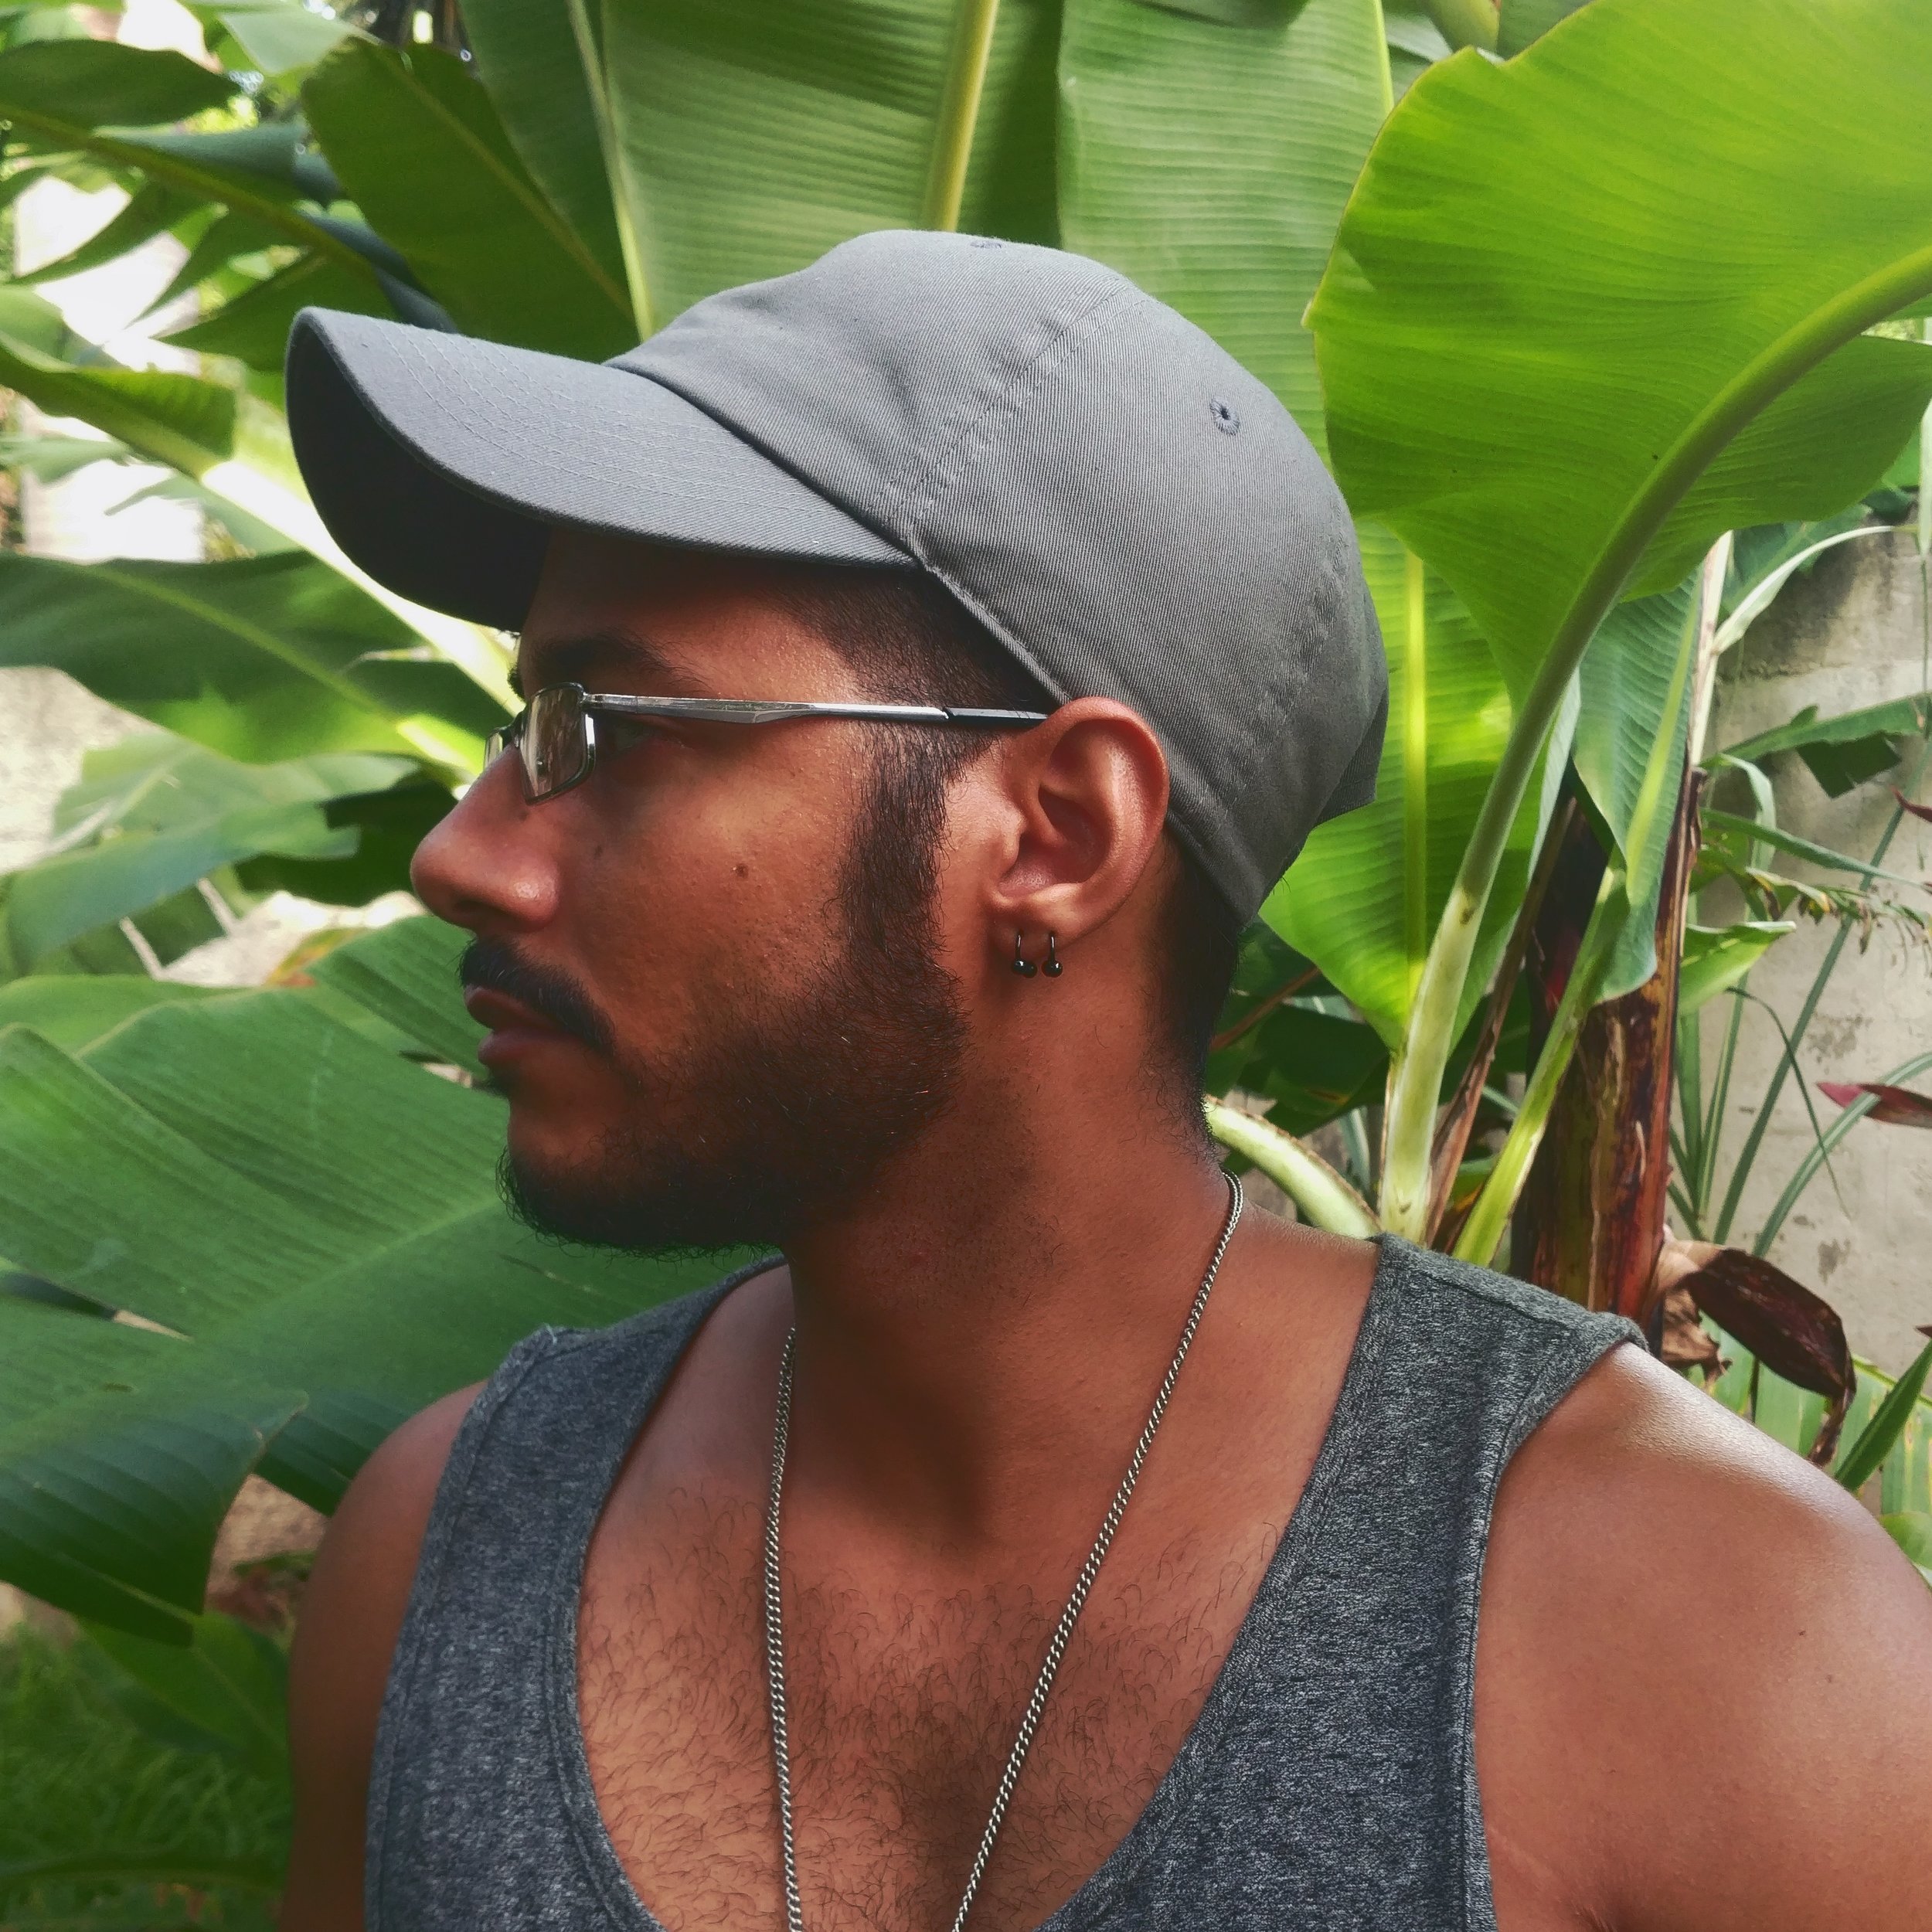
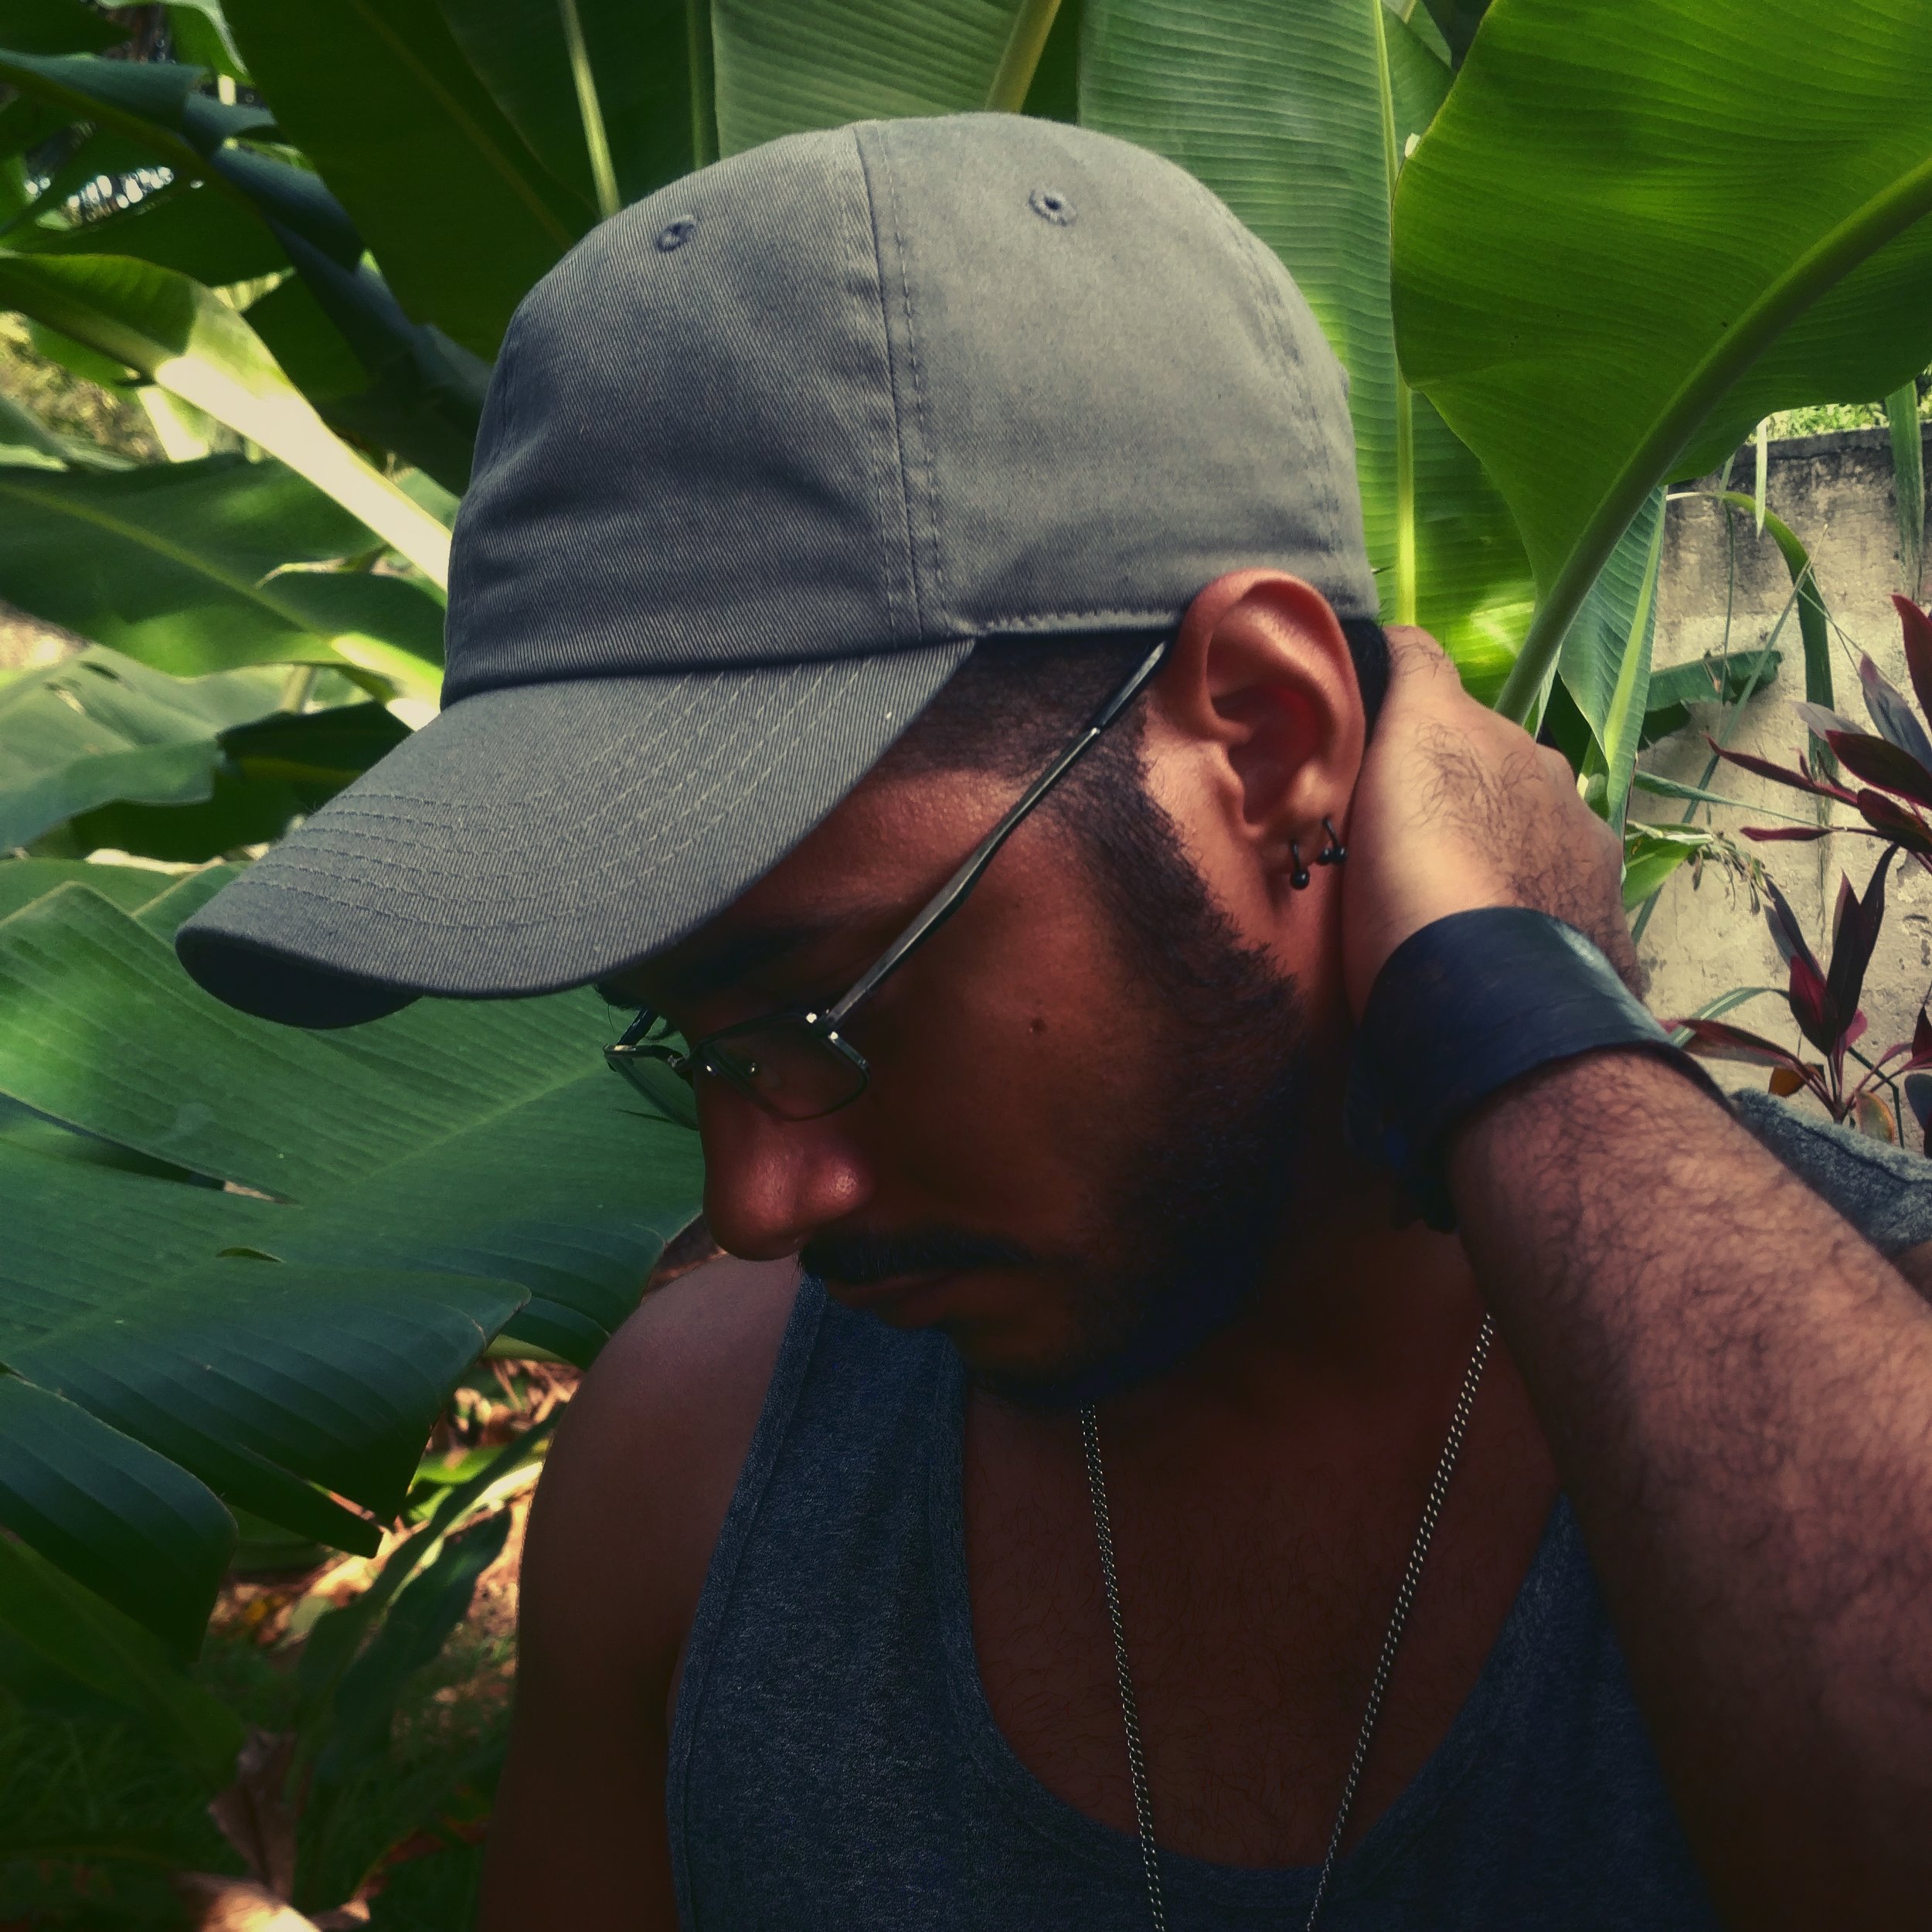
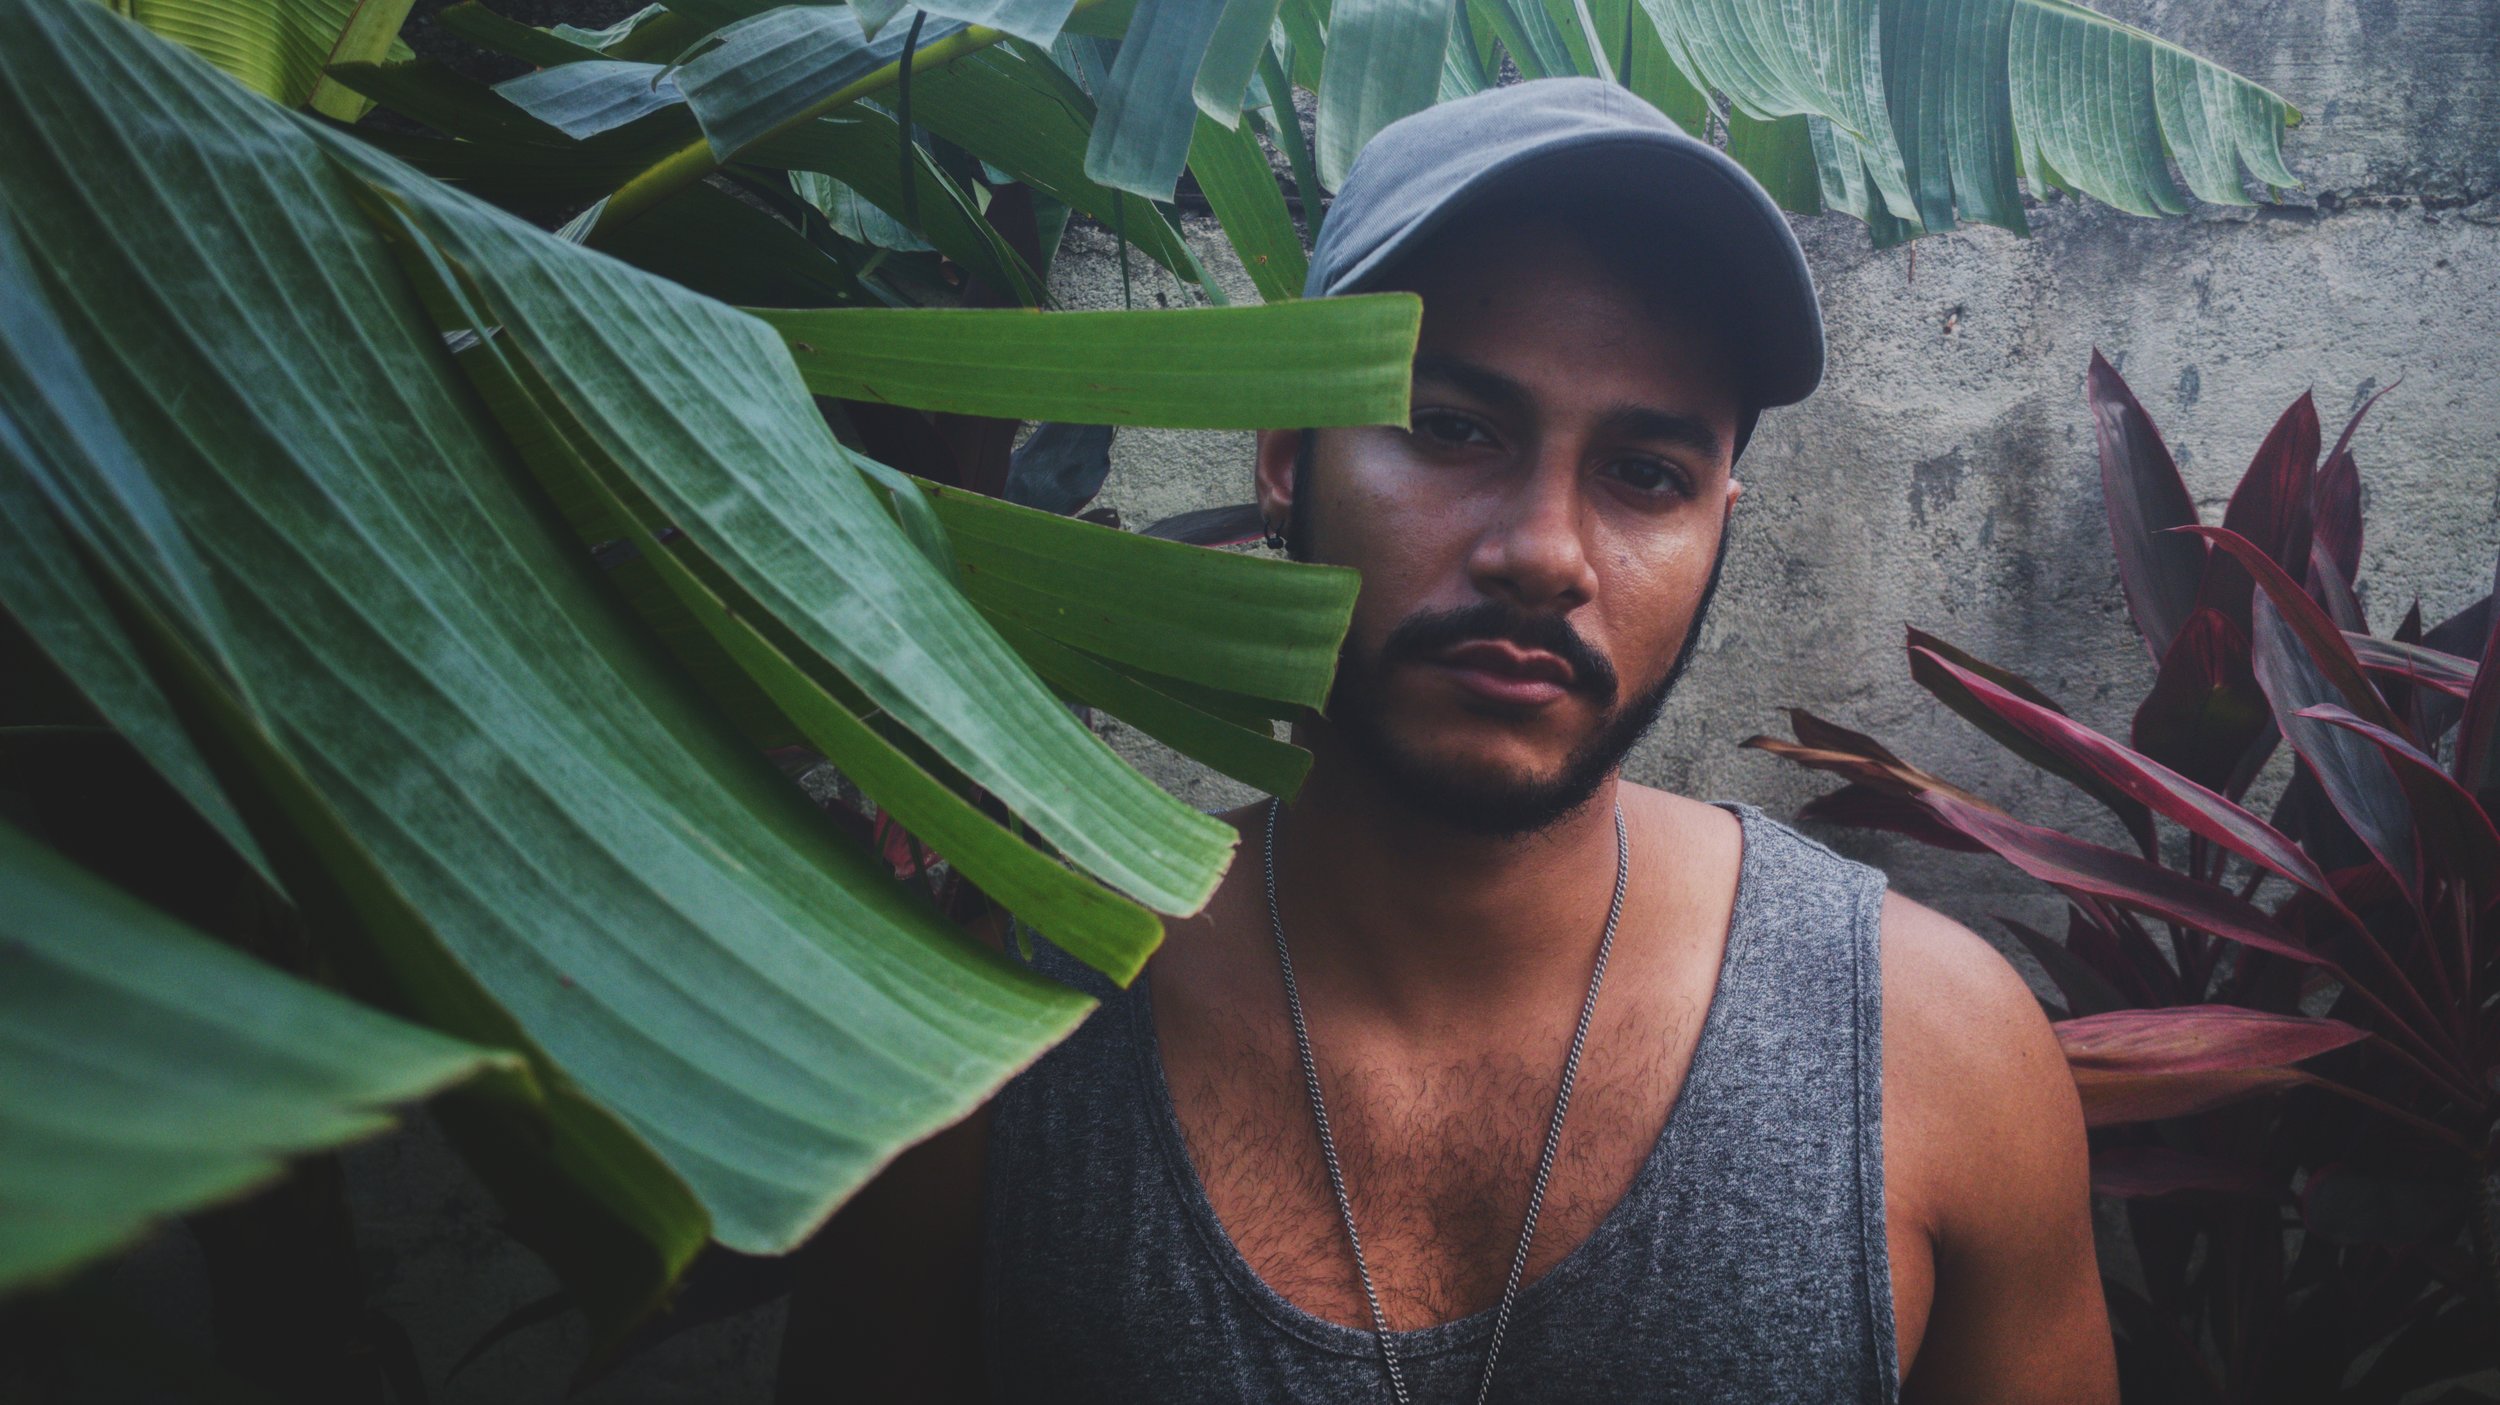
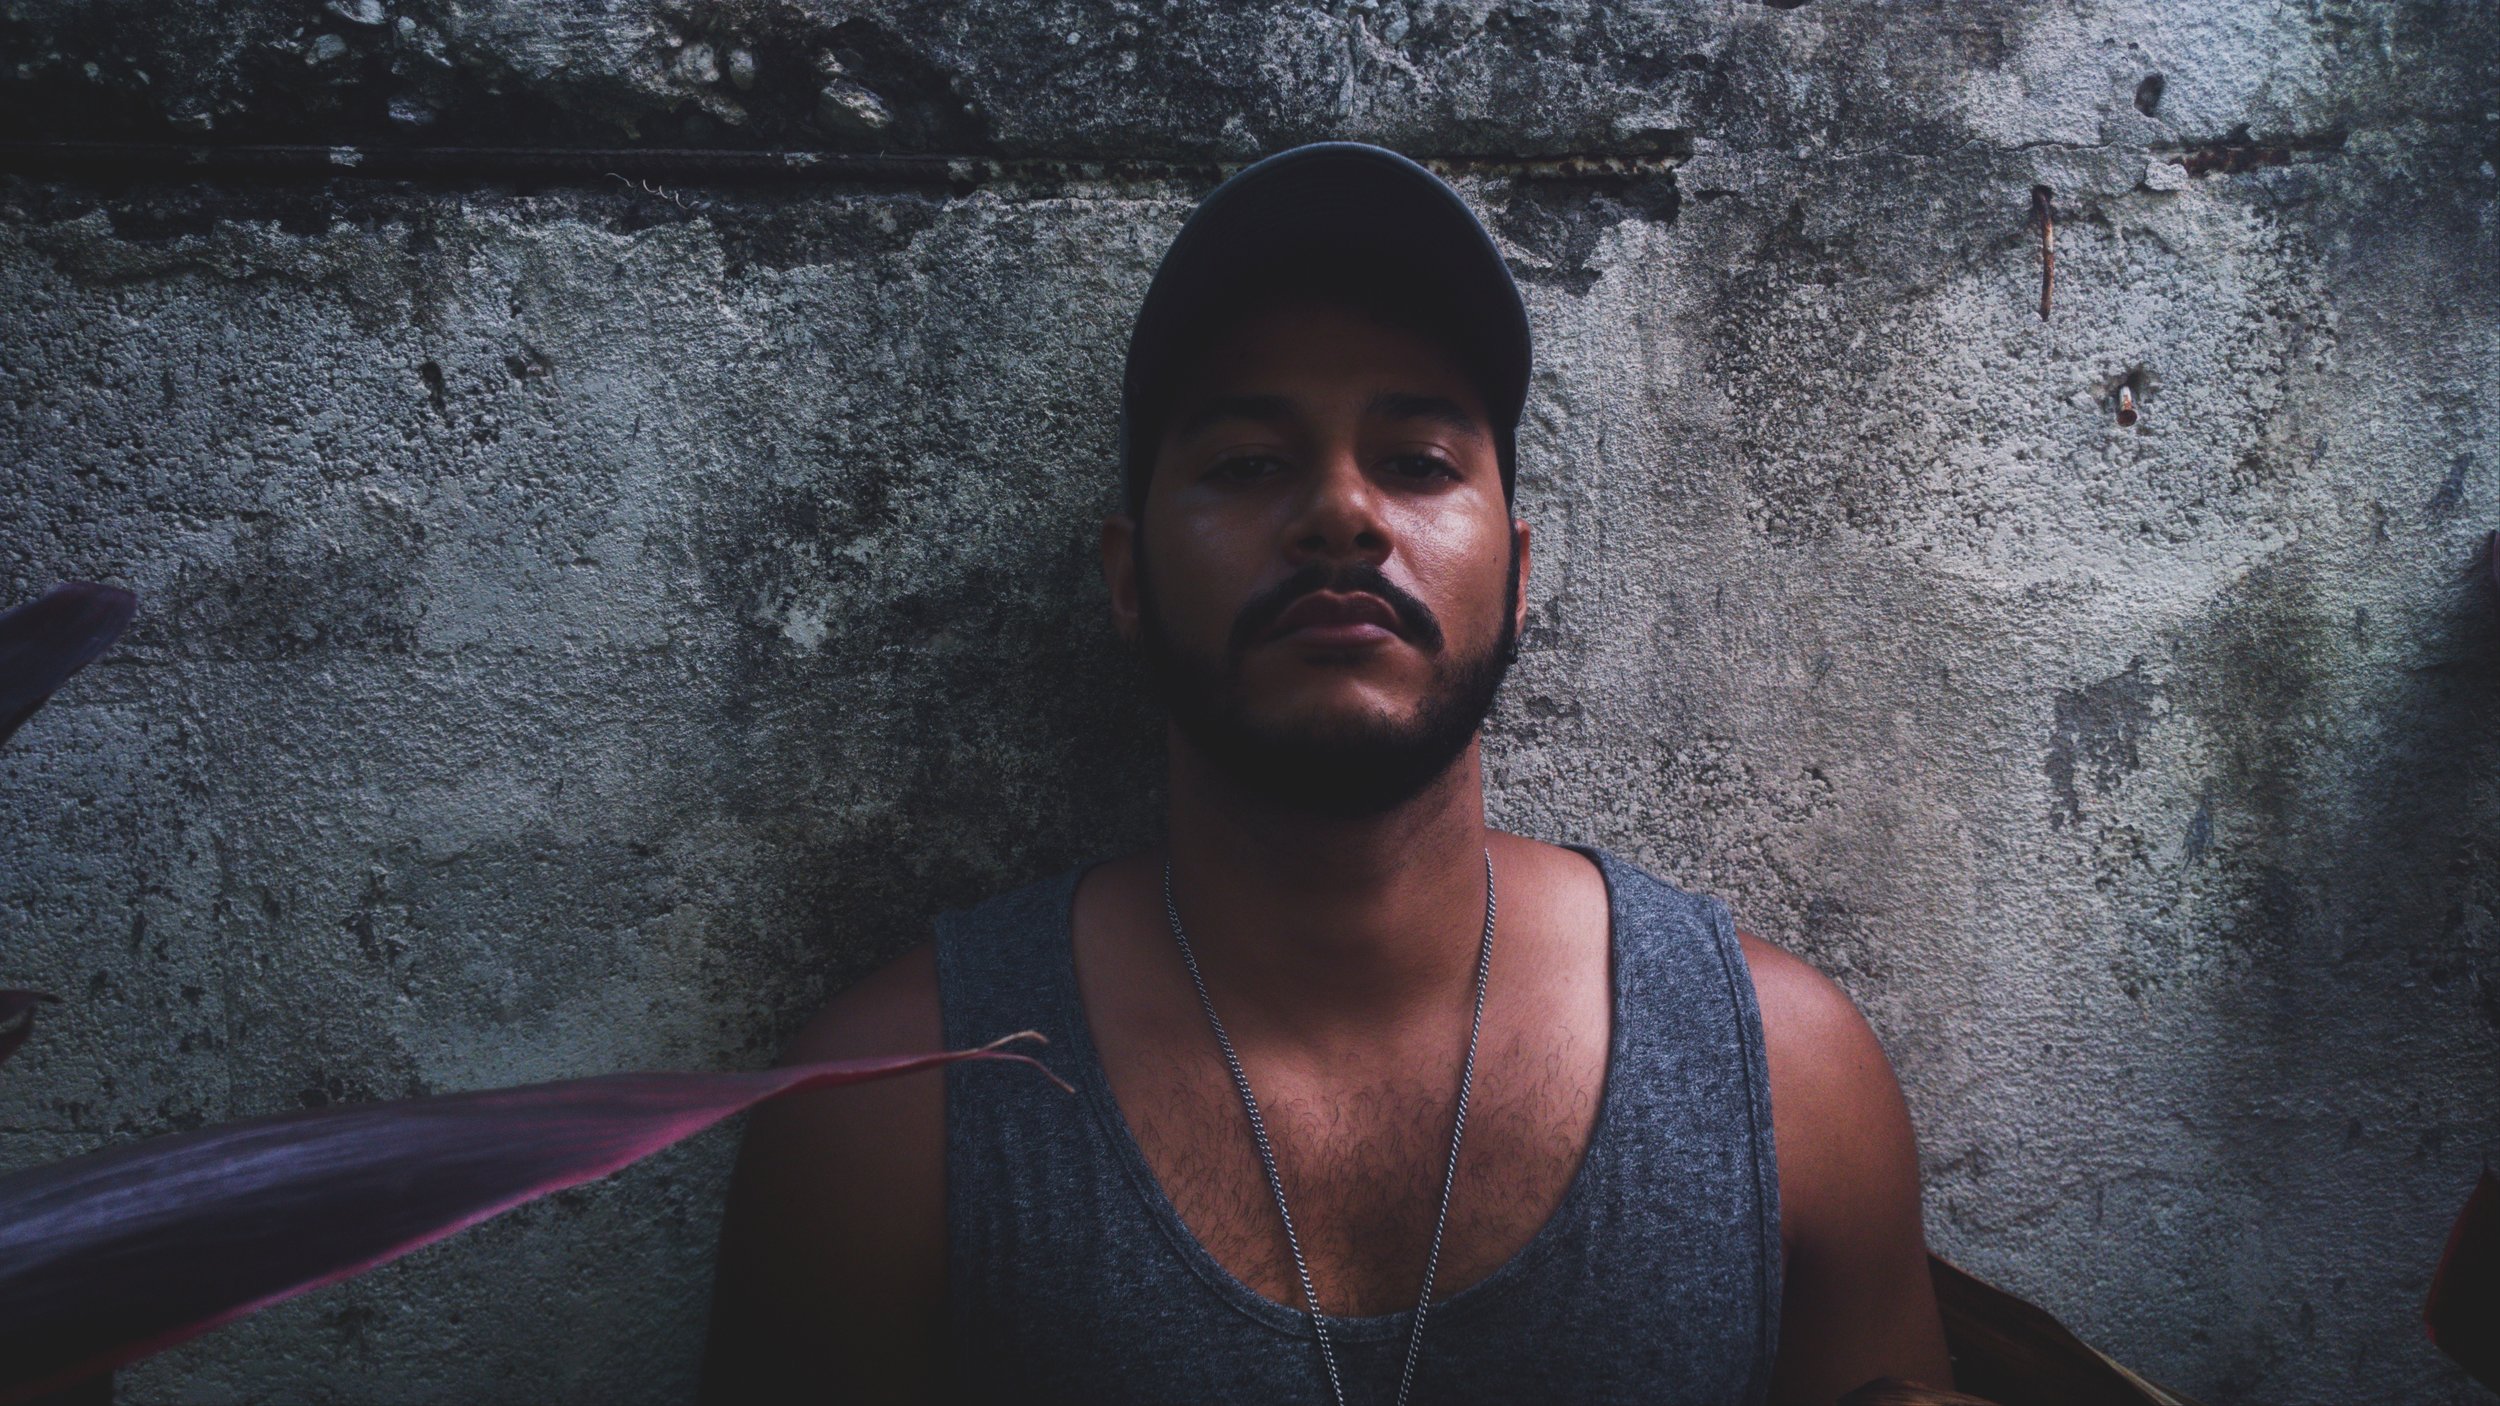
Here's the gallery with the shoot I did with just my phone (ZTE Axon 7)


